Pico RGB Keypad – Stream Deck
Vous avez envie d’avoir un stream deck à prix « raisonnable »? Vous n’avez pas peur de mettre les mains dans le code? Vous souhaitez qu’il soit personnalisable sur les commandes, ou sur les codes couleurs?
La Raspberry Pico, grâce à son code en MicroPython, son clavier RGB ( Tous deux vendus chez Pimoroni), un câble USB Type-A -> µ-USB ; et vous avez déjà rempli les conditions nécessaires pour l’exemple de code que je fournirais. J’expliquerai les fonctions principales du code, ces effets, et comment les changer. Des commentaires sont présents également dans le code. J’ai fais le choix de dédier cette Raspberry Pico & son Keypad RGB aux fonctions d’OBS ; en ayant bien évidemment configuré au préalable ces raccourcis.
Procédons par étapes :
- Flasher la Raspberry Pico avec le fichier .u2f : Lien disponible ici. (CircuitPython.org)
- Télécharger le dossier contenant les fichiers nécessaires au bon fonctionnement du code : Lien disponible ici (Github)
- Une fois que votre Pico est flashée, vous devriez avoir un emplacement de stockage « CIRCUITPY » :

- Il vous faudra coller le fichier « code.py » et créer un dossier « lib » contenant la librairie, dans laquelle le « code.py » va venir chercher ces ressources :

- Les fichiers ressources demandés sont : Le dossier complet « adafruit_hid » (qui gère la partie clavier) et « adafruit_dotstar.py » qui pour sa part, gère la partie LED :

Le code.py
#Library gestion
import time
import board
import busio
import usb_hidfrom adafruit_bus_device.i2c_device import I2CDevice
import adafruit_dotstarfrom adafruit_hid.keyboard import Keyboard
from adafruit_hid.keyboard_layout_us import KeyboardLayoutUS
from adafruit_hid.keycode import Keycodefrom adafruit_hid.consumer_control import ConsumerControl
from adafruit_hid.consumer_control_code import ConsumerControlCode#Configuration RGB Keypad : Ligne 22 : changement intensité lumières « brightness=0.1 » = 10%, peut aller jusqu’à « 1 » = 100%
from digitalio import DigitalInOut, Direction, Pull
cs = DigitalInOut(board.GP17)
cs.direction = Direction.OUTPUT
cs.value = 0
num_pixels = 16
pixels = adafruit_dotstar.DotStar(board.GP18, board.GP19, num_pixels, brightness=0.1, auto_write=True)
i2c = busio.I2C(board.GP5, board.GP4)
device = I2CDevice(i2c, 0x20)
kbd = Keyboard(usb_hid.devices)
layout = KeyboardLayoutUS(kbd)
def colourwheel(pos):
if pos < 0 or pos > 255:
return (0, 0, 0)
if pos < 85:
return (255 – pos * 3, pos * 3, 0)
if pos < 170:
pos -= 85
return (0, 255 – pos * 3, pos * 3)
pos -= 170
return (pos * 3, 0, 255 – pos * 3)
def read_button_states(x, y):
pressed = [0] * 16
with device:
device.write(bytes([0x0]))
result = bytearray(2)
device.readinto(result)
b = result[0] | result[1] << 8
for i in range(x, y):
if not (1 << i) & b:
pressed[i] = 1
else:
pressed[i] = 0
return pressed
held = [0] * 16
while True:
pressed = read_button_states(0, 16)# A Partir d’ici, on va gérer les raccourcis (Keycode.xxx), si vous souhaitez utiliser une combinaison de touches, faites ainsi (Keycode.xxx, Keycode.yyy) ; sachant que pour ma part, j’ai assigné les commandes « CTRL +Fx » et « CTRL+ALT+Fx » dans OBS.
if pressed[0]:
pixels[0] = colourwheel(0 * 16) # Map pixel index to 0-255 rangeif not held[0]:
#Start Record OBS
kbd.send(Keycode.CONTROL, Keycode.F1)
held[0] = 1elif pressed[1]:
pixels[1] = colourwheel(1 * 16) # Map pixel index to 0-255 rangeif not held[1]:
#Stop Record OBS
kbd.send(Keycode.CONTROL, Keycode.F2)
held[1] = 1elif pressed[2]:
pixels[2] = colourwheel(2 * 16) # Map pixel index to 0-255 rangeif not held[2]:
#Local Record ON
kbd.send(Keycode.ALT, Keycode.F1)
held[2] = 1elif pressed[3]:
pixels[3] = colourwheel(3 * 16) # Map pixel index to 0-255 rangeif not held[3]:
#Local Record OFF
kbd.send(Keycode.ALT, Keycode.F2)
held[3] = 1elif pressed[4]:
pixels[4] = colourwheel(4 * 16) # Map pixel index to 0-255 rangeif not held[4]:
#Online Screen
kbd.send(Keycode.CONTROL, Keycode.F3)
held[4] = 1elif pressed[5]:
pixels[5] = colourwheel(5 * 16) # Map pixel index to 0-255 rangeif not held[5]:
#Offline screen
kbd.send(Keycode.CONTROL, Keycode.F4)
held[5] = 1elif pressed[6]:
pixels[6] = colourwheel(6 * 16) # Map pixel index to 0-255 rangeif not held[6]:
#Start/Ending + Chat Screen
kbd.send(Keycode.CONTROL, Keycode.F5)
held[6] = 1elif pressed[7]:
pixels[7] = colourwheel(7 * 16) # Map pixel index to 0-255 rangeif not held[7]:
#Gaming Screen + Chat
kbd.send(Keycode.CONTROL, Keycode.F9)
held[7] = 1elif pressed[8]:
pixels[8] = colourwheel(8 * 16) # Map pixel index to 0-255 rangeif not held[8]:
#Principal Screen
kbd.send(Keycode.CONTROL, Keycode.F7)
held[8] = 1elif pressed[9]:
pixels[9] = colourwheel(9 * 16) # Map pixel index to 0-255 rangeif not held[9]:
#Paused Screen (Only Sound)
kbd.send(Keycode.CONTROL, Keycode.F8)
held[9] = 1elif pressed[10]:
pixels[10] = colourwheel(10 * 16) # Map pixel index to 0-255 rangeif not held[10]:
#Cam Full Screen
kbd.send(Keycode.ALT, Keycode.F8)
held[10] = 10elif pressed[11]:
pixels[11] = colourwheel(11 * 16) # Map pixel index to 0-255 rangeif not held[11]:
#Matos
kbd.send(Keycode.ENTER)
held[11] = 10elif pressed[12]:
pixels[12] = colourwheel(12 * 16) # Map pixel index to 0-255 rangeif not held[12]:
#Cut Mic/Aux
kbd.send(Keycode.ALT, Keycode.F11)
held[12] = 10elif pressed[13]:
pixels[13] = colourwheel(13 * 16) # Map pixel index to 0-255 rangeif not held[13]:
#Cut Audio
kbd.send(Keycode.ALT, Keycode.F9)
held[13] = 1elif pressed[14]:
pixels[14] = colourwheel(14 * 16) # Map pixel index to 0-255 rangeif not held[14]:
#Uncut Mic/Aux
kbd.send(Keycode.ALT, Keycode.F12)
held[14] = 1elif pressed[15]:
pixels[15] = colourwheel(15 * 16) # Map pixel index to 0-255 rangeif not held[15]:
#Uncut Audio
kbd.send(Keycode.ALT, Keycode.F10)
held[15] = 1# Pour modifier l’allumage des LED, et faire en sorte qu’elles s’éteignent après la pression : « pixels[i] = = (0, 0, 0) # Turn pixels off after pressure«
else: # Released state
for i in range(16):
pixels[i] = colourwheel(i * 16) # Turn pixels permanent on
held[i] = 0 # Set held states to off
time.sleep(0.1) # Debounce
Pack complet « Code + Librairies » : RGB Keypad Code – Black-Lab.fr
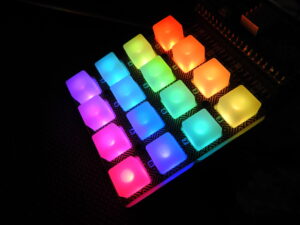
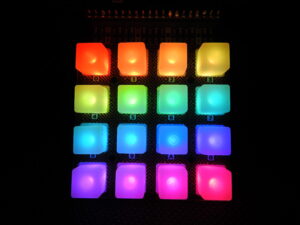
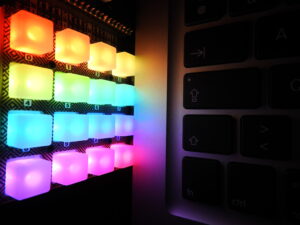
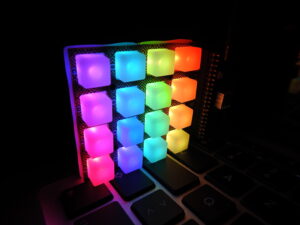
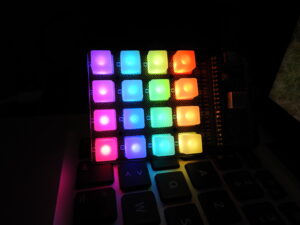
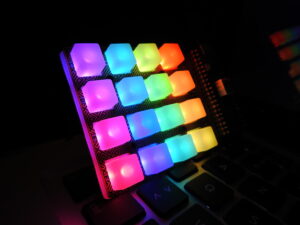
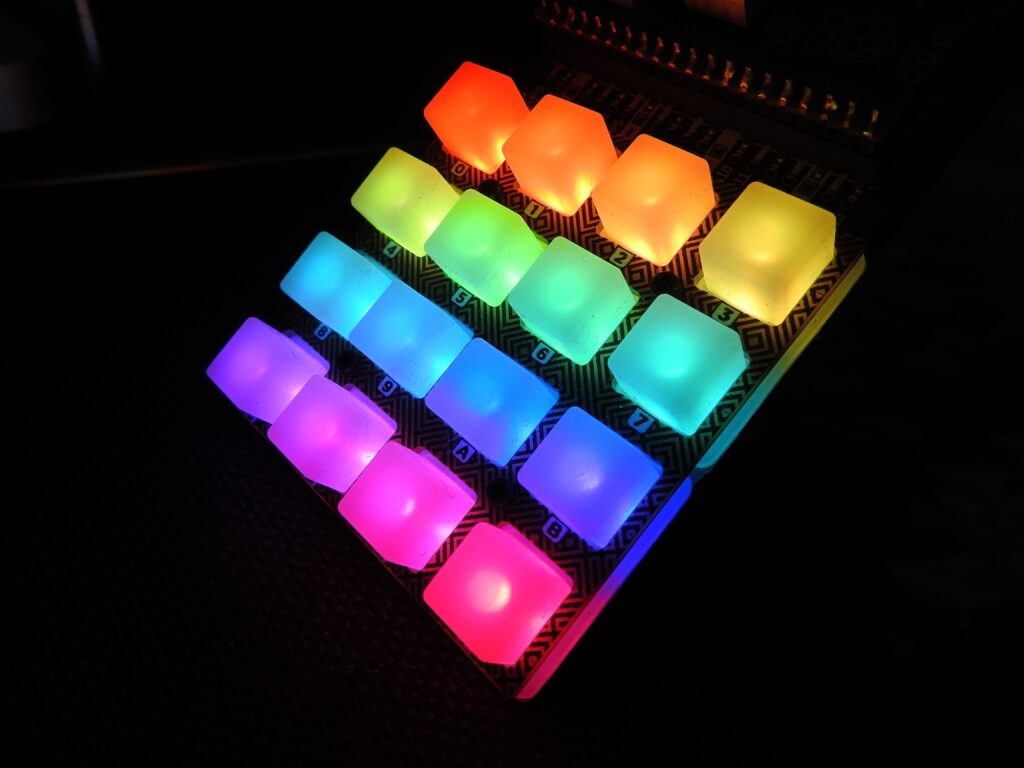
Et voici ce que ça donne une fois configuré et en service :
Démo du Keypad RGB & Pico :
